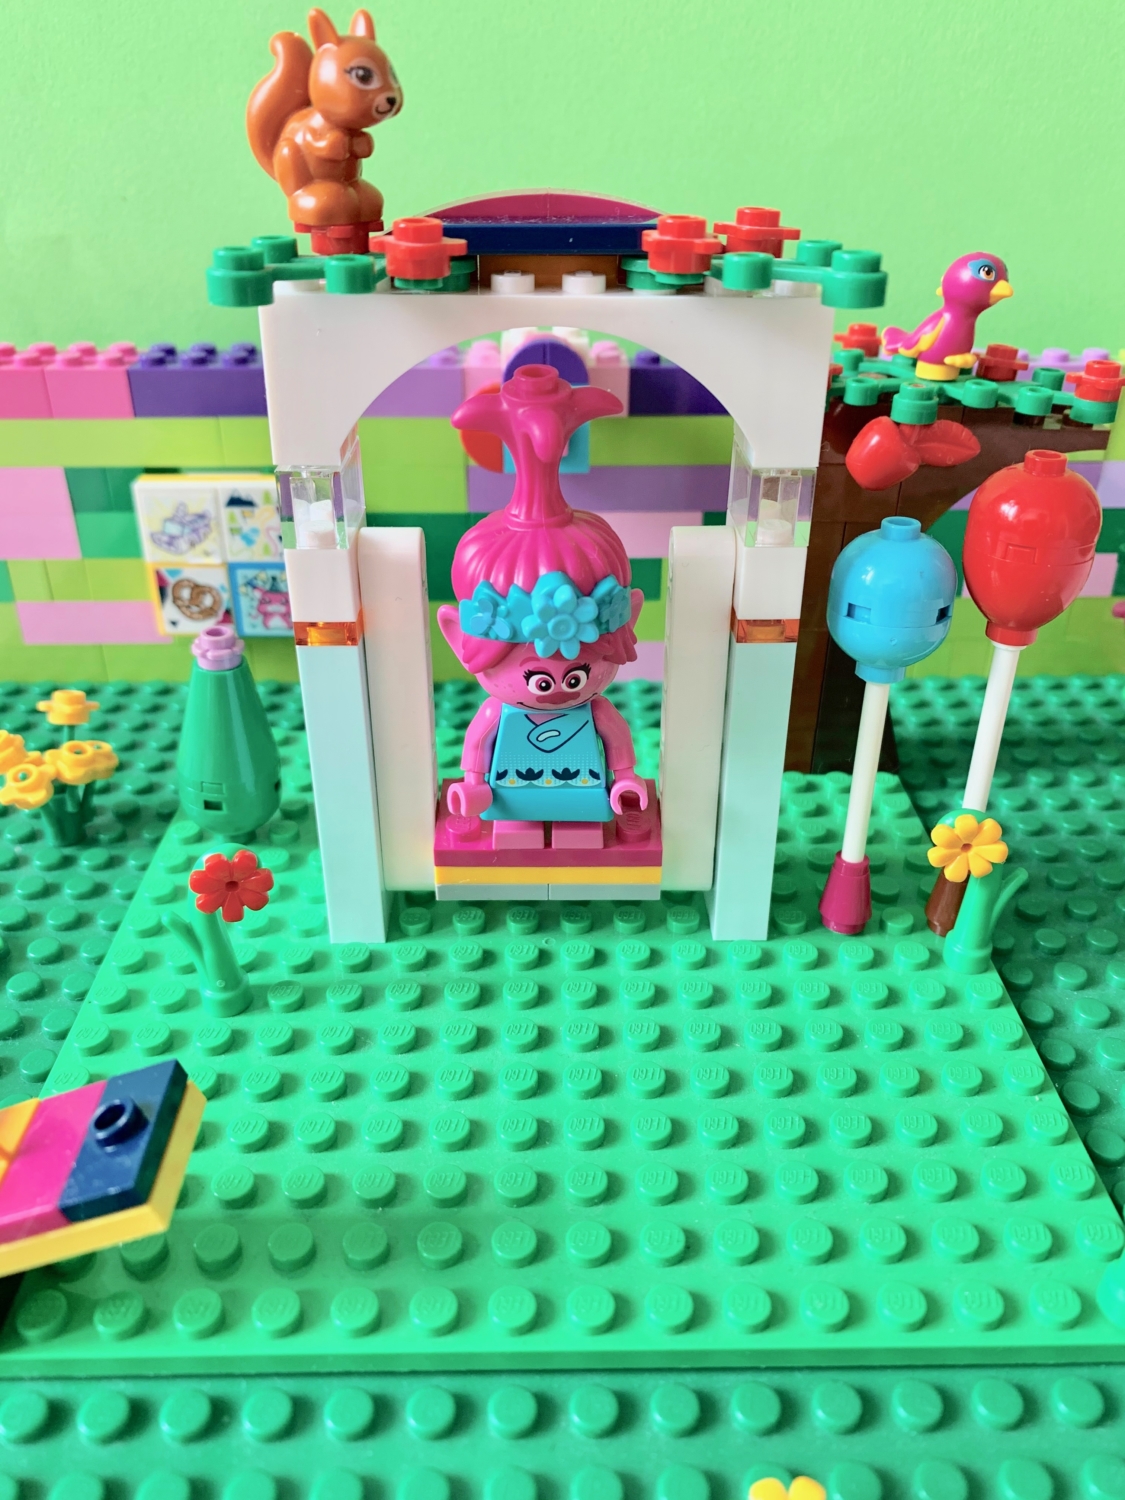
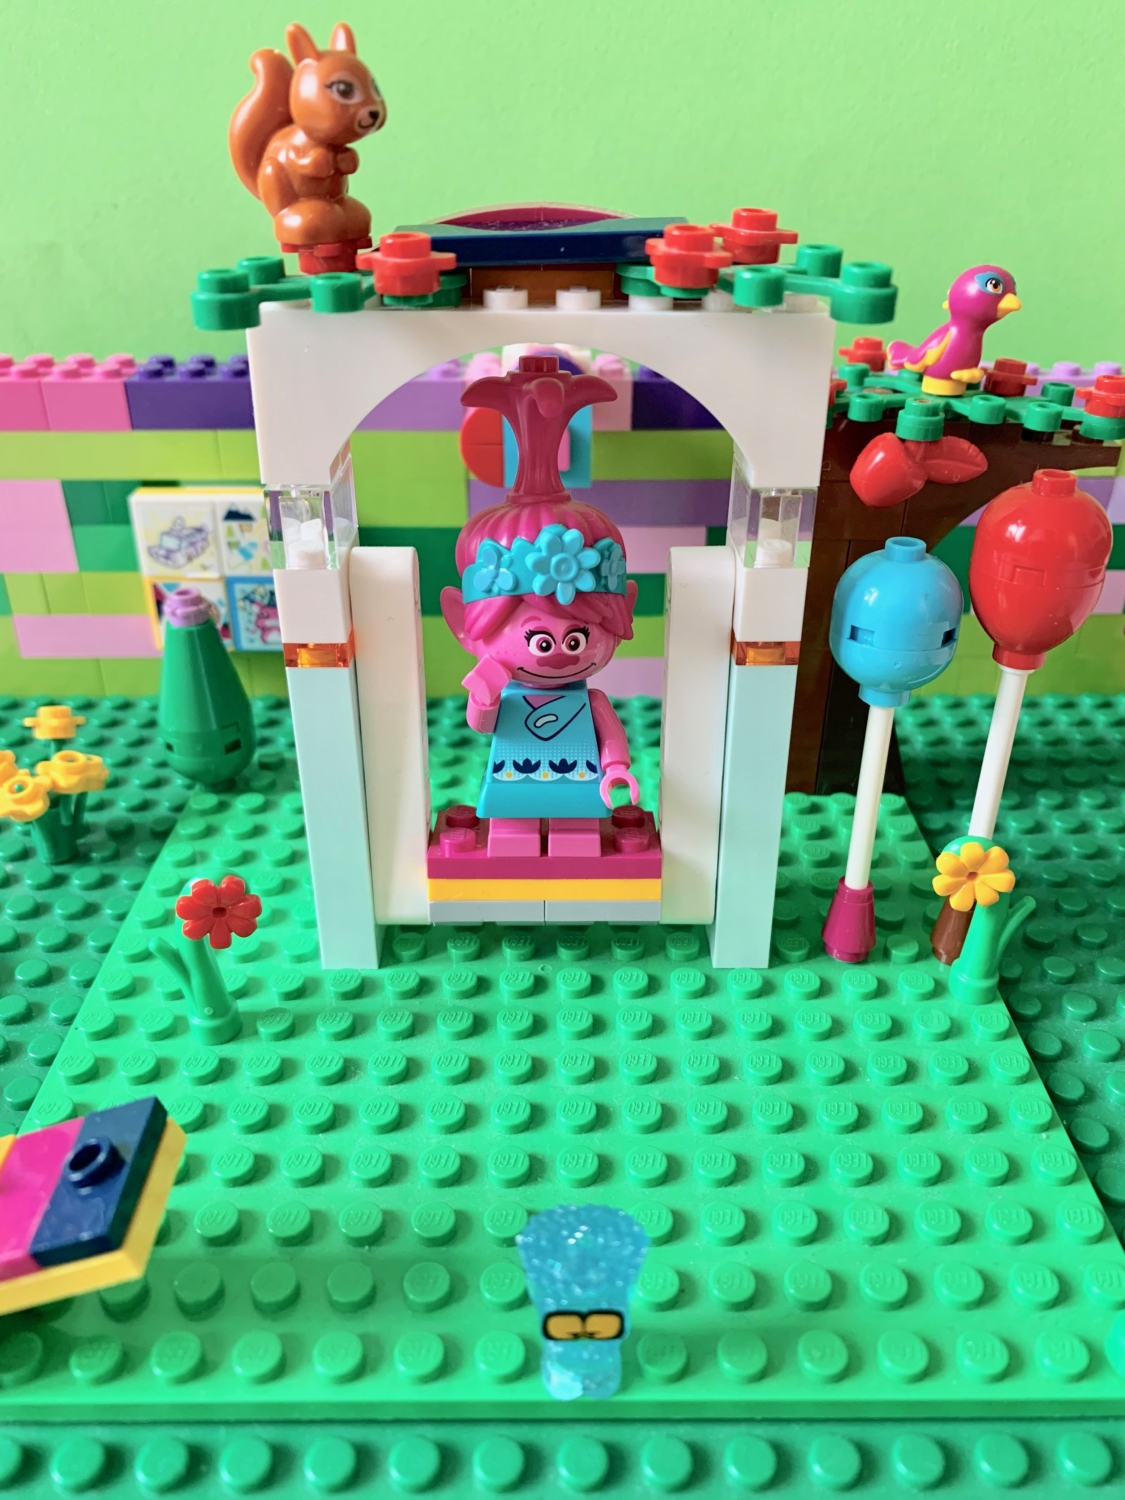
…and action!!!!
It does not need to be a Hollywood production to be successful! Kids’ imagination and creativity is a powerful driver and given their determination it will be an exciting movie!
What does one need for a stop-and-motion movie?
- a good amount of free time and patience
- a room in your home where you can be uninterrupted for a couple of hours equipped with a big table and a consistent light source (either steady natural light on a bright and sunny day or a desk light easy to position)
- an electronic device such as a mobile phone, tablet, or a digital camera
- something to prop up the electronic device so it is stable
- and an easy and non-fussy movie maker software or app
All else definitely improves the movie quality but is not a must-have at this stage.
So where to start without spending days and lots of money in preparation and making sure that your kids do not lose interest in the set up and before they can hit that capture button!
Let’s start with the technology – stop and motion is one technique to make movies. Rather than letting the camera ‘roll’, one takes pictures of individual sequences which are then animated into a video. So for example, your favourite toy figure walks from the left to the right side of the screen. A sequence means that every little movement your figures makes, such as lifting its leg, moving arms in parallel, turning its head, is captured by taking pictures, or so called frames. The more frames you have per second (fps) the more fluid the video gets! Before we get carried away, remember this is supposed to be a fun activity for your kid. So let’s start with 8 frames per second, then eventually ramp it up to 15 frames per second and all beyond that (as in 24 or more fps) is becoming a serious hobby! Remember every frame means making tiny little adjustments to your character and that can be tiresome for most kids and parents! Same applies then to the movie length – let’s start short and gradually build-up.
Find the right stop and motion movie maker software – there are plenty of free apps. It is probably best if you test a couple to check whether they are easy enough to handle for you and your kid. Most are. However, be aware that for many technical add-ons, like inserting sound or titles and visual effects, you might be asked to pay extra. So why not produce a couple of basic movies to see whether your kid likes it, before entering the world of the stop-and-motion professionals with all its gadgets and extra expenses. Another aspect to remember here is that one’s standards or focus are not necessarily compatible with the ones your kid is after. I was rather astonished how independently and practically-minded my daughter and her friends approached their stop-and-motion movie making careers! I focused endlessly on perfecting the background while the kids focused on the actual action, not bothered about frames per second or whether the movie was 15 or 30 seconds long.
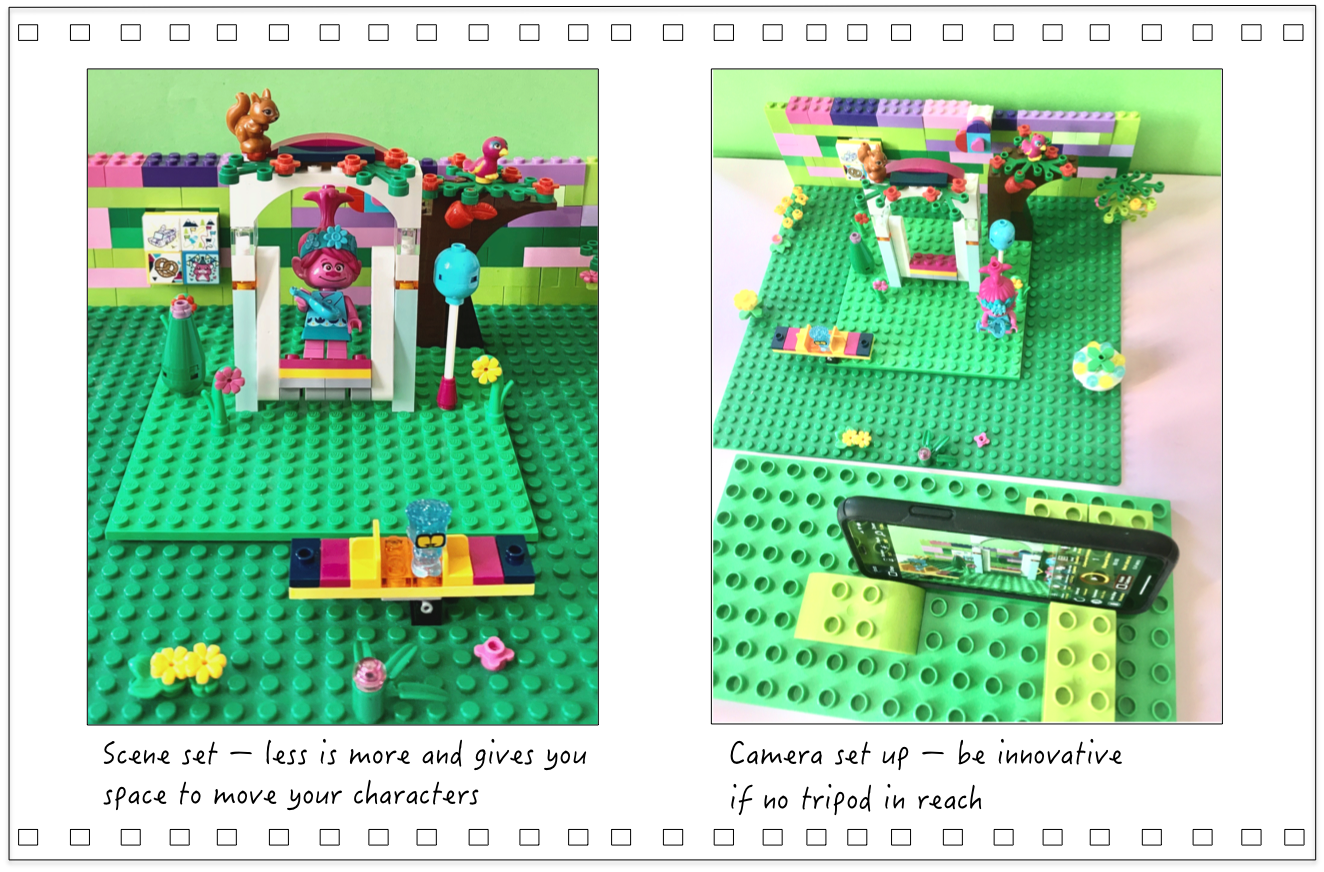
Stabilise your electronic device – the key to a successful stop-and-motion movie making career! It might take some time to get your electronic device stabilised – if you do not have a tripod ready – but make sure your device is properly fixed so your photograph frame is exactly the same throughout the entire video. The frustration can be very big, if your electronic device moves just a tiny bit every single time you are re-adjusting your character! If you are pressed to come up with an interim tripod solution, Lego Duplo offers a good alternative to stabilise your phone (it may look unprofessional but it does do the trick with a mobile phone). For the pros it might be a worthwhile investment to buy a remote control, so to avoid touching your device and therefore avoiding potential shaking. Alternatively, you could hook up your camera with your PC and use this as a remote control.
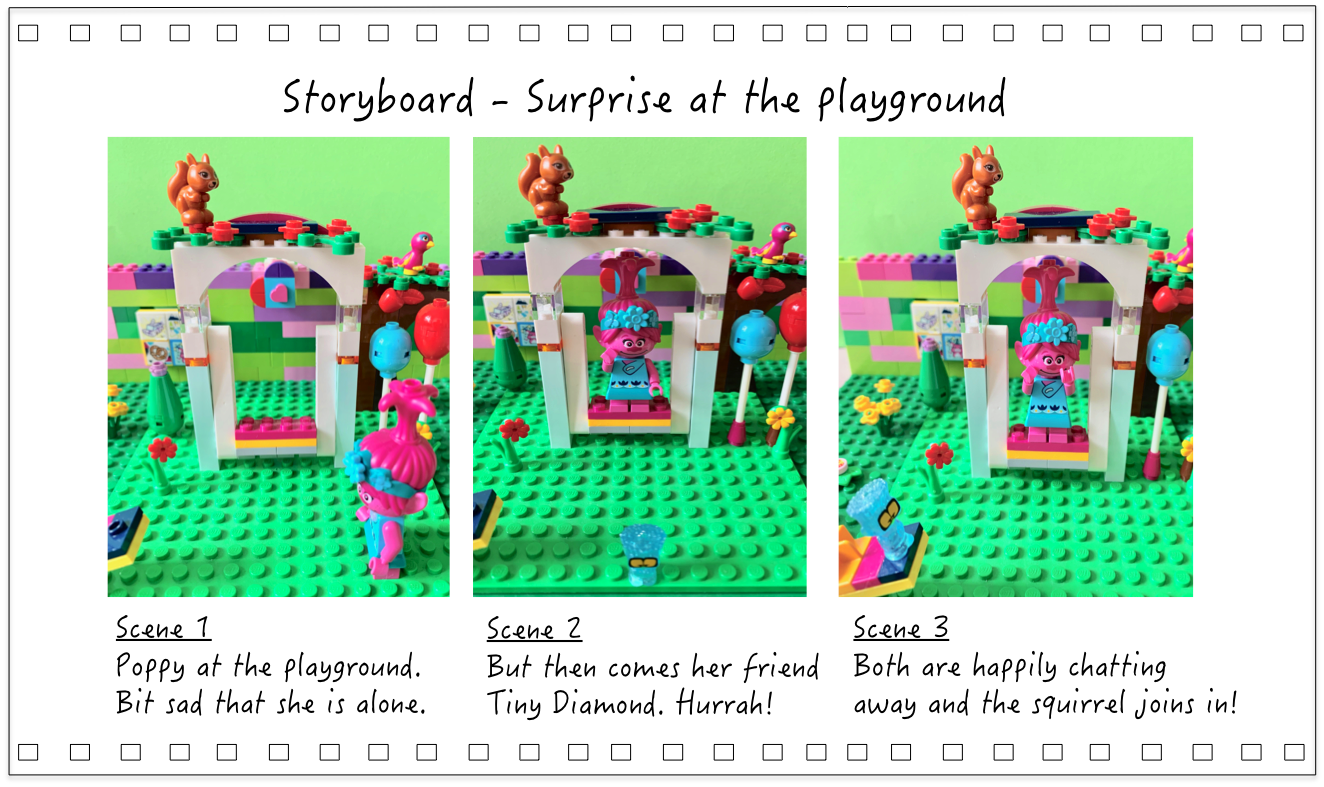
Storyboard: kids are masters in storytelling – if they recognise that their story might be too complex they will scale back and gradually build it up. However, writing a storyboard, as in sitting down and drawing a couple of pictures along with short sentences describing the scene, will at best, be a challenge. Kids are keen to get on with the actual setting the scene and shooting. Storyboarding becomes more interesting to them, once they have done a movie and understand its relevance or indeed if they work together on a movie and split the scenes between them.
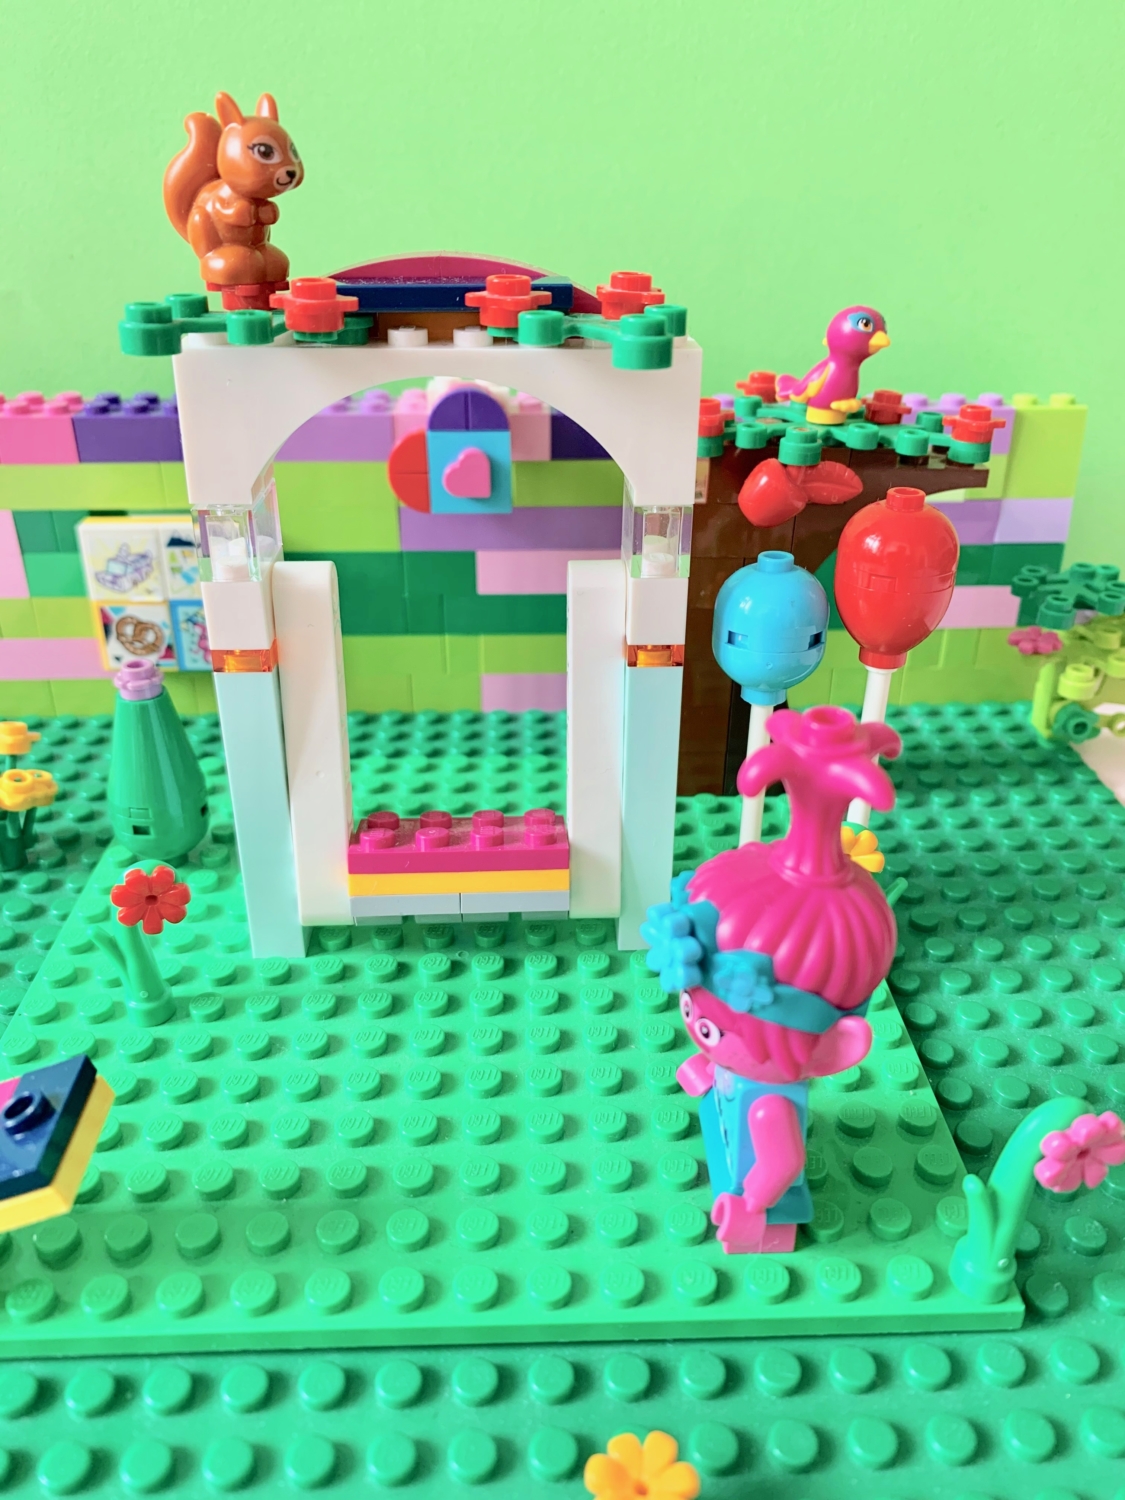
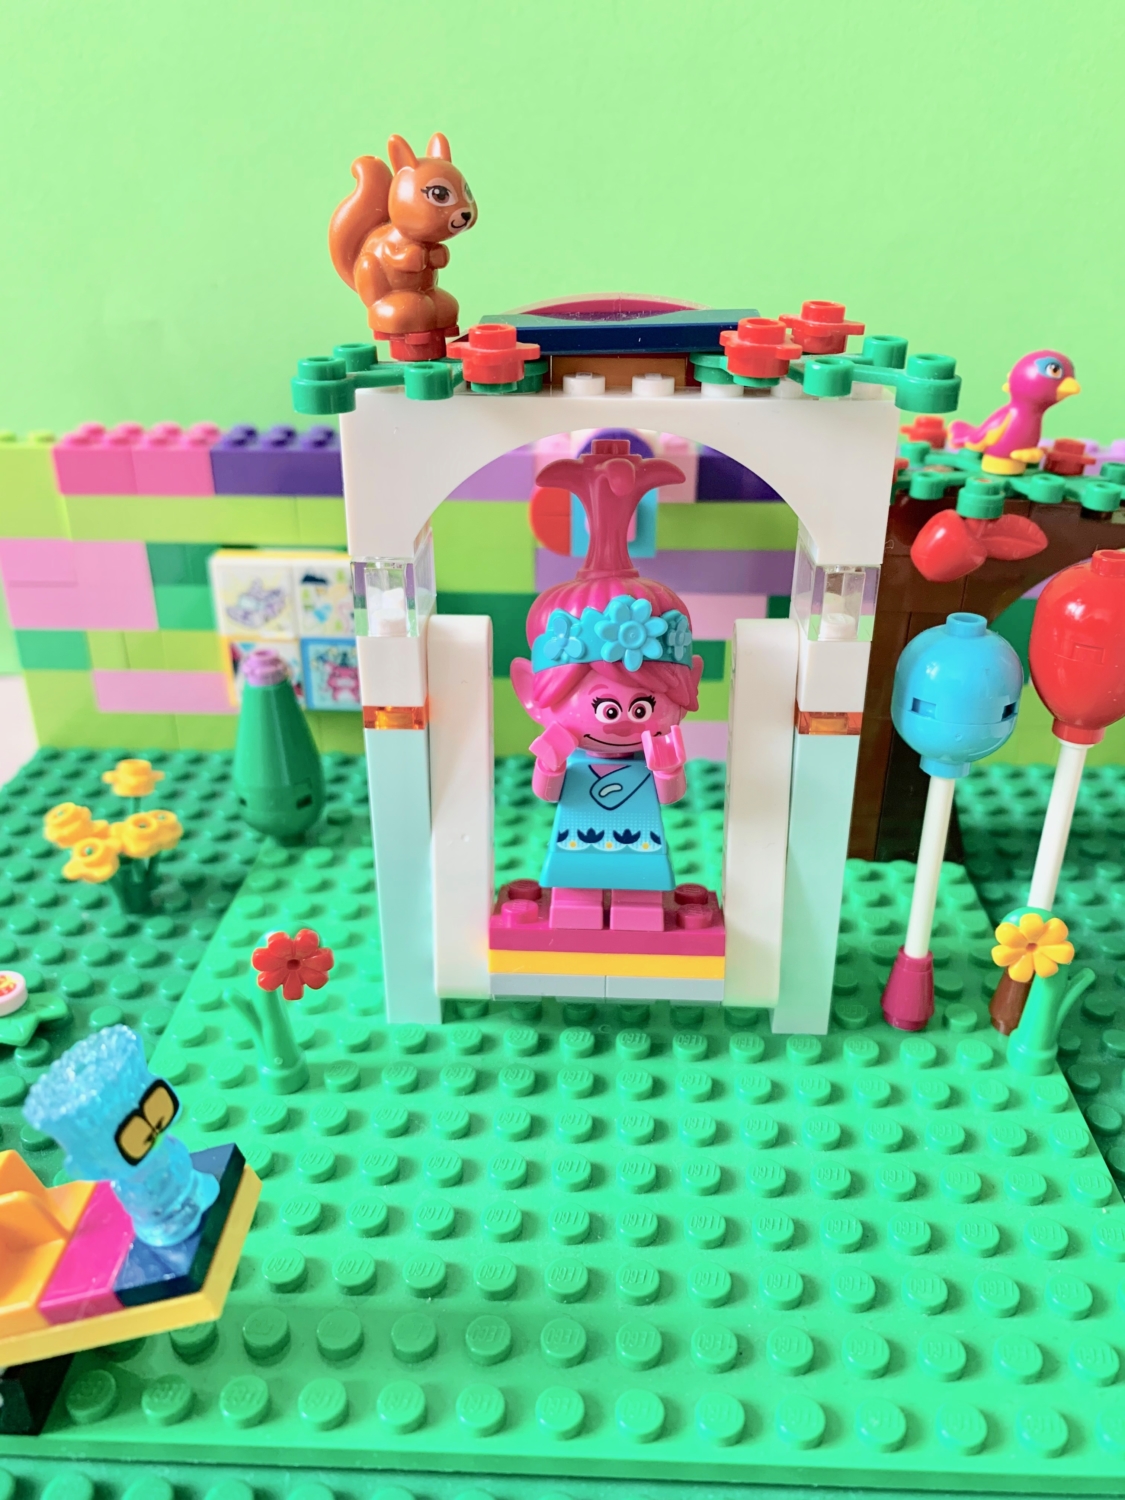
Choosing your cast or ‘selecting your stars‘ – let me state the obvious. Lego is great for stop-and-motion movies as you can attach the cast and accessories to the plates which makes it just so much easier. But that should not dampen your ideas working with different material, for example dough.
The right background makes a big difference and is easy to set up. Using a big sheet of paper or a cloth attached to a box, or even with a mighty wall made out of Lego. Key is that it should be high and wide enough so all is covered from all angles of your camera. Make sure you have sufficient and consistent light. Ideally you may want to block all natural light using a simple table desk lamp to illuminate your scene and little stars!
Setting the scene ‘less is more’ – before setting up the scene, position your camera in front of the set and show your kid that what they see through the lens is what will be seen in their movie. The set should primarily be what the camera can see. Also go with a simple set, meaning an uncluttered one. Kids tend to want to feature all the cool accessories in one movie, making the actual moving of figures very tricky! Remember you need to move your characters just a couple of millimetres at the most for each frame. So why not let your kid do the setting of the scene and review it together afterwards, removing what is too much and keeping it for the next movie. Your scene set should be firmly attached to the table or surface, by for example using tape.
The actual movie making – you are almost ready to go! Check your set before you hit the capture button:
- camera in the right position, stable and fully charged,
- you understand the movie making software – the basics are sufficient at this stage,
- cast is set and your scene is firmly attached to the surface,
- background is fixed and light is consistent,
- story is clear and so is the movement of all involved characters,
…now you can call capture and remember to take a picture of each movement.
Camera movements and techniques – again, all a matter of preference, patience and time. From The Rabbit’s experience it is best to start with a wide shot angle. Once you have mastered the entire movie-making process you can than go into close ups and into the world of smaller adjustments. With regards to the movement of your characters it is best to start off with just moving one character before repositioning a multitude of characters and elements. Ideally the flow of movements starts with plenty small ones, followed by bigger ones, and finishing off with smaller and more frequent ones again.
Editing and add ons – of course, once your kid has mastered the basics there are no limits to venturing into the world of editing, details and cool add on’s. Of course the list goes on, starting with a proper storyboard, detailed check list, expanding the scene, elaborate casts and accessories, adding music and many other special effects. Most of the basic movie maker apps allow you to cut frames and sequences in a fairly easy way. This might come in useful if you have accidentally taken a picture of your hand, readjusting something on the set or if you want to add a scene.
Creating your own style – true for the big directors and certainly true for our young neo-directors! Kids focus on their preferences – some might spend most of their time actually setting up the scene, others love to hit that capture button. To ensure that the initial movie making session is successful and potentially leads to more films, allow your kids to be creative in their own way. And who is to stop you doing your own movie!
If you have stop-and-motion movie making related questions or indeed are interested in a film making party for your kid – either in the form of a home production or with a professional movie making team based in Vienna, please contact The Rabbit.
The Rabbit wishes you prolific hours and do not forget the popcorn for the sneak preview!
